Guía · Artículo 01 Guide · Article 01
Crea tu primer sitio y lanza un rastreoCreate your first site and launch a crawl
En APEspider primero creas el sitio y después lo rastreas. El rastreo recorre tus páginas, las analiza y te devuelve las incidencias SEO. Así lo haces de principio a fin.
1. Crea el sitio
Tienes dos formas, según si es tu primer proyecto o ya tienes alguno:
- Es tu primer proyecto: el asistente de bienvenida arranca en el paso Proyecto. Escribe el dominio y pulsa Crear proyecto.
- Ya tienes proyectos: en Vista general, pulsa Nuevo proyecto.
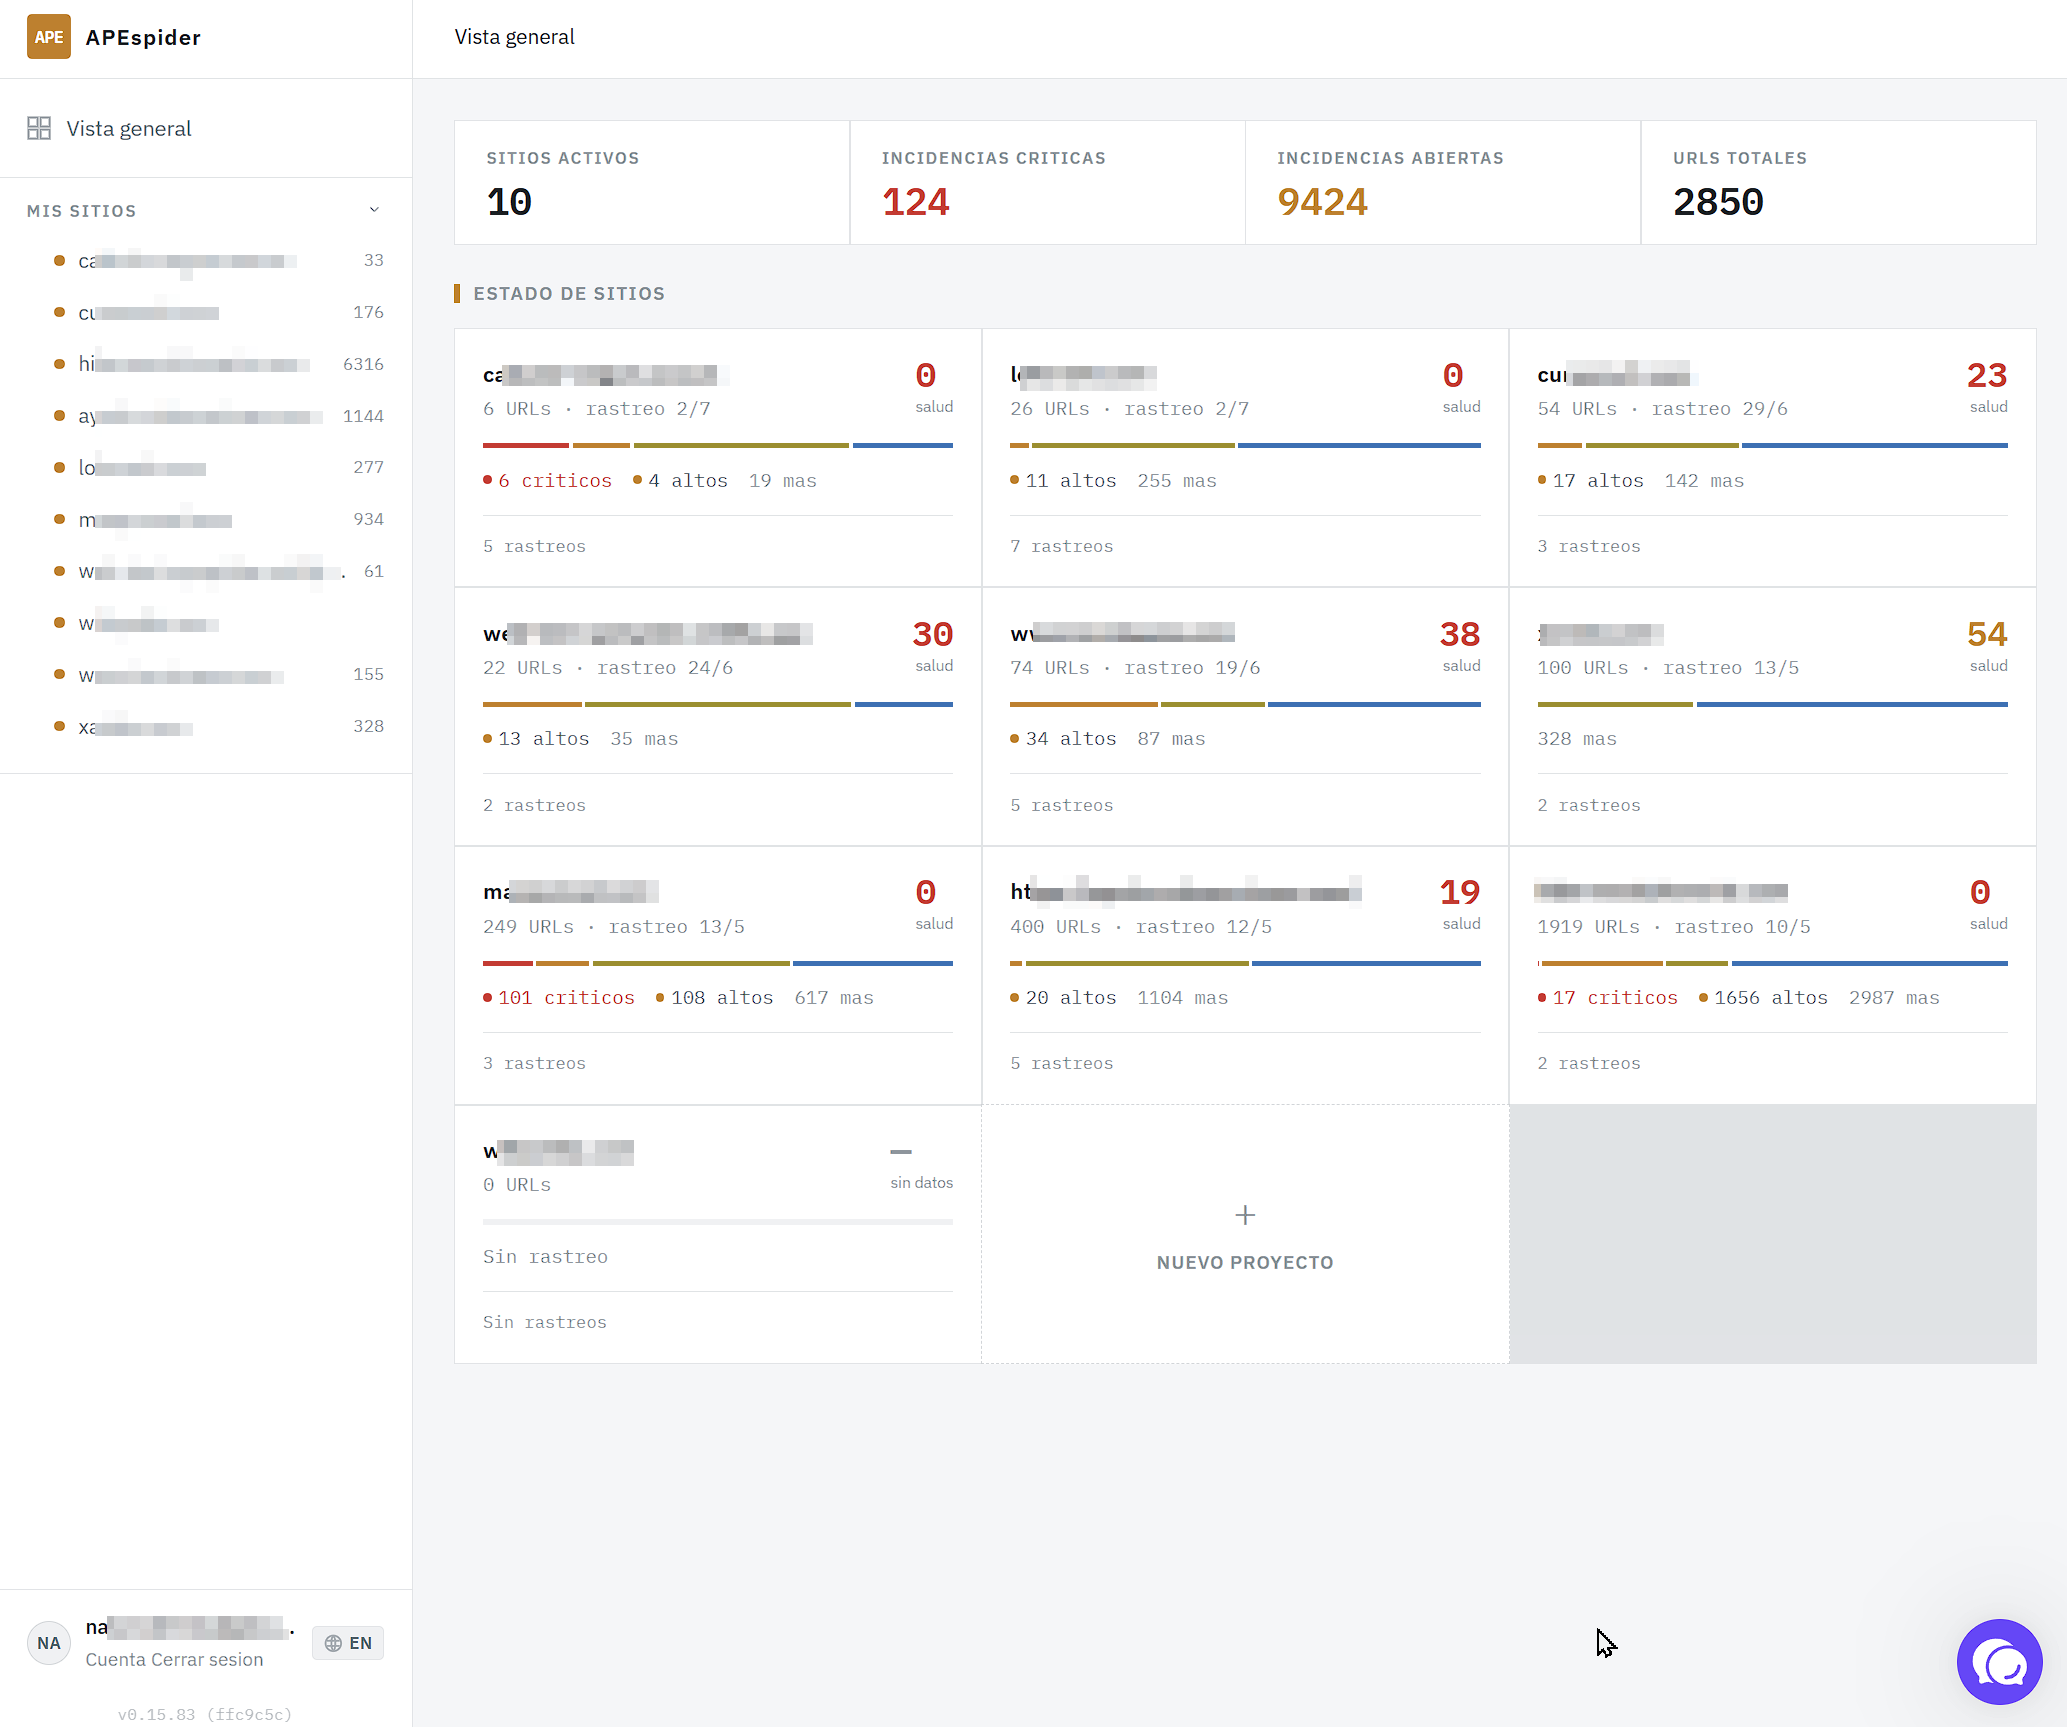
En el formulario Nuevo sitio:
- En Dominio, escribe el dominio sin
https://(por ejemplowww.ejemplo.com). - Nombre (opcional): ponle un nombre si quieres distinguirlo; puedes cambiarlo más tarde.
- Pulsa Crear sitio.
Qué verás: el sitio queda creado y pasas al siguiente paso para lanzar el primer rastreo.
2. Lanza el rastreo
El sitio ya existe; ahora lo rastreas.
- Desde el asistente: en el paso Primer rastreo, pulsa Lanzar rastreo.
- Desde la página del sitio (más adelante): pulsa Rastreo completo. Antes verás la opción Renderizar JavaScript (más lento, pero detecta contenido que se construye con JavaScript) y una confirmación.
Qué verás: el rastreo empieza a trabajar en segundo plano. Tarda unos minutos y sigue corriendo aunque cierres la pestaña. Mientras tanto, puedes conectar Google Search Console.
3. Mira los resultados
Cuando el rastreo termina, los resultados aparecen en la página del sitio:
- Puntuación SEO, Total incidencias y, si conectas GSC, Impresiones, Clics y Posición media.
- Para el detalle de las incidencias, abre el Panel de Diagnóstico desde el menú lateral.
Nota: justo después de lanzarlo, los números todavía no están. Es normal — mira el artículo «Entiende los resultados: estado del rastreo y frescura» para saber qué significa cada estado.
In APEspider you create the site first, then crawl it. The crawl walks your pages, analyzes them, and returns your SEO issues. Here's the full flow.
1. Create the site
There are two ways, depending on whether it's your first project or you already have one:
- It's your first project: the welcome wizard starts on the Project step. Type the domain and click Create project.
- You already have projects: on Overview, click Add project.
In the New site form:
- In Domain, type the domain without
https://(for examplewww.example.com). - Name (optional): add a name to tell it apart; you can change it later.
- Click Create site.
What you'll see: the site is created and you move to the next step to launch the first crawl.
2. Launch the crawl
The site already exists; now you crawl it.
- From the wizard: on the First crawl step, click Start crawl.
- From the site page (later on): click Full Crawl. First you'll see the Render JavaScript option (slower, but detects content built by JavaScript) and a confirmation.
What you'll see: the crawl starts working in the background. It takes a few minutes and keeps running even if you close the tab. Meanwhile, you can connect Google Search Console.
3. Check the results
When the crawl finishes, results appear on the site page:
- Health score, Total issues, and, if you connect GSC, Impressions, Clicks, and Avg. position.
- For the issue detail, open the Dashboard from the side menu.
Note: right after you launch it, the numbers aren't there yet. That's expected — see "Understand your results: crawl status and freshness" to learn what each status means.